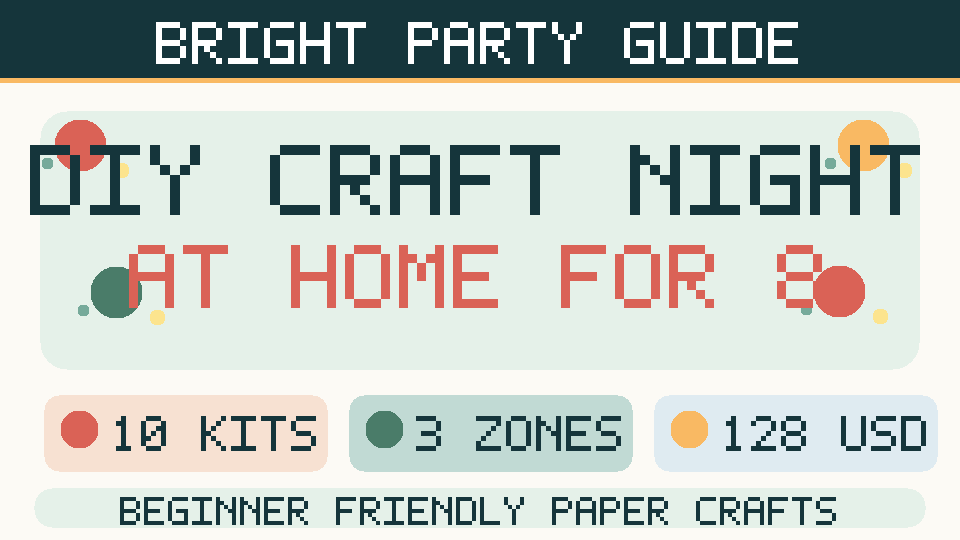
A craft night works best when nobody has to wait for materials or feel embarrassed about their creative skills. This guide helps an everyday U.S. home host organize a beginner-friendly paper-craft gathering for eight people, including the host if the host also crafts. Rather than buying eight complicated kits, the plan uses two simple project choices, a ten-kit supply calculation, three practical hosting zones and an illustrative $128 spending plan. You can adapt the quantities to the tools you already own and to each guest’s preferences.
Choose projects that everyone can finish
Select one main craft and one optional alternative, such as handmade greeting cards and decorated bookmarks. Both use similar paper, markers and reusable tools. Choose projects people can stop and resume without heat, fumes or special equipment. Show one optional sample at the start, then invite guests to make something different if they prefer. A two-hour gathering is too short for three unfamiliar techniques, glue-drying surprises and elaborate instruction videos. Aim for a finished item that fits into a small paper envelope or sleeve.
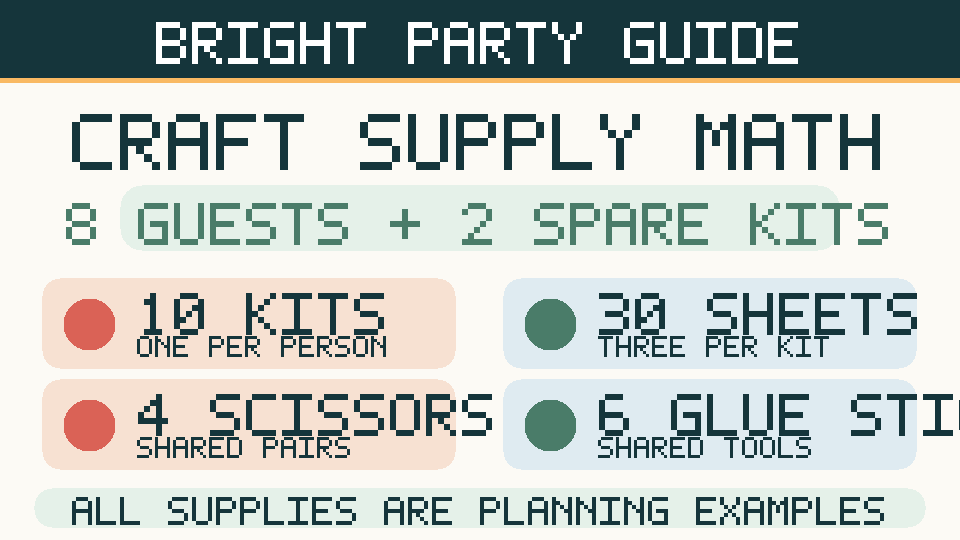
Use a ten-kit formula for eight guests
Make one labeled basic paper kit per participant and two spare kits for mistakes, last-minute guests or a guest who wants to start over. If each kit contains three sturdy sheets, the calculation is 10 kits × 3 sheets = 30 sheets. Add 10 protective paper placemats or reusable mats. Share four pairs of suitable scissors, six glue sticks and three sets of washable markers at the tables; the shared tools do not need to be duplicated inside every kit. Count which supplies you already own before buying. Check label and usage instructions for all craft materials.
A hypothetical $128 host budget
These amounts are illustrative allowances, not live local store prices or a recommendation to spend exactly $128. The total includes a reserve. Buy only the materials needed for the chosen projects and use existing tools wherever possible.
| Host budget category | Illustrative allowance |
|---|---|
| Cardstock and paper | $24 |
| Markers and adhesives | $22 |
| Scissors and table protection | $18 |
| Decorative paper and stickers | $16 |
| Light snacks | $22 |
| Nonalcoholic drinks | $12 |
| Reserve | $14 |
| Illustrative host total | $128 |
Create three separate stations
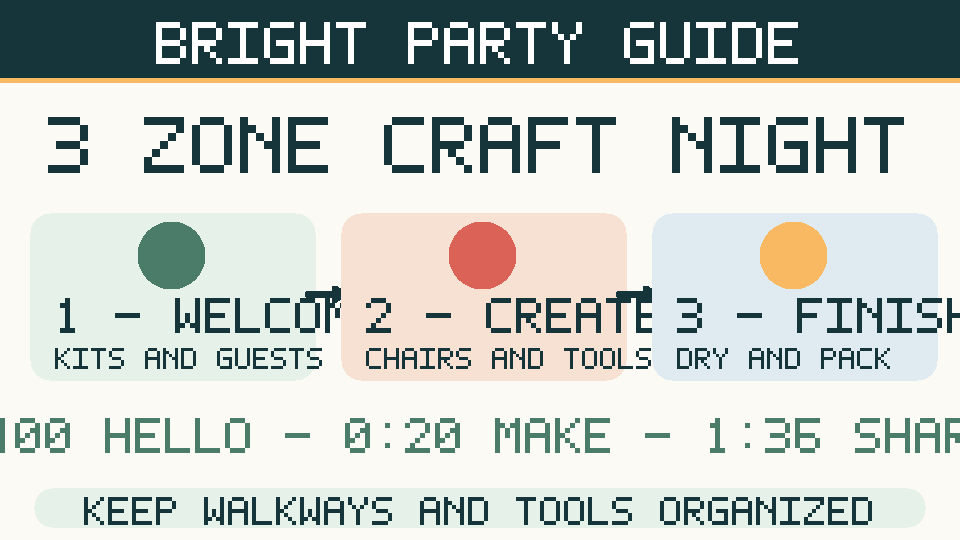
Place a welcome station near the entrance where participants can find labeled kits and bags without blocking the door. The creative workspace is the largest stable table with eight suitable seats, sufficient lighting, comfortable elbow room and a clear walking route. A finishing station holds dry projects, envelopes and cleanup bins away from food and drink. Use one washable covering to protect the table. Keep scissors pointed away from walkways and put loose pieces in shallow trays so they do not scatter across the floor.
Make the setup accessible and comfortable
Ask privately about seating height, hand comfort, mobility and lighting preferences instead of assuming everyone will enjoy a long tabletop activity. Offer large-handled tools where available, a few easy-grip markers and a quiet alternative such as selecting colors or assembling a pre-cut card. Avoid projects requiring tiny intricate movements as the only option. Allow guests to take breaks without comment. If someone cannot reach the shared supplies, move the supplies rather than asking them to stretch across other people’s work.
A practical two-hour craft-night timeline
0:00–0:20: greet everyone, offer water and point out supplies. 0:20–0:35: explain the two optional projects and demonstrate one step. 0:35–1:35: create at a relaxed pace, with short reminders about sharing tools. 1:35–1:50: optional show-and-tell, photographs only with consent, and packing finished pieces. 1:50–2:00: collect tools, clear scraps and leave time for goodbyes. If someone does not finish, let them take the remaining materials home.
Separate snacks and craft materials
Serve simple nonalcoholic drinks and bite-size food on a small table away from adhesives, marker sets and loose craft supplies. Put hand wipes or handwashing access nearby. Ask guests about allergies and ingredient preferences in advance. Avoid food directly beside glitter, paint, glue or scissors. If serving cut fruit, cheese or other perishable foods, keep cold foods refrigerated until needed and replenish small portions. Follow food storage instructions instead of leaving a large display out for the entire party.
Copy-ready invitation text
Join us for a relaxed DIY craft night at my place on [date], from [start] to [finish]. We will make simple cards and bookmarks, and no crafting experience is needed. I’ll provide basic supplies and light refreshments. Please RSVP by [date] and let me know privately about food allergies, access needs or tools that would make the activity easier. The guest count is limited to eight so everyone has a seat.
Save money on supplies without losing quality
A themed gift bag for every participant is optional; basic paper sleeves will protect finished crafts just as well. Instead of buying separate decorative sets for every person, place a few shared packs of washi tape, stamps or stickers in the center of each table. Ask participants to bring a favorite pen only if they wish, never as a condition of attending. If the store total exceeds the ceiling, remove decorative extras first. Keep the reserve intact for missing basics, damaged scissors or extra protective paper.
Plan for mess, drying and transport
Put one bin at each end of the table: one for recyclable clean scraps when locally accepted, one for general waste. Provide a flat drying or waiting area if adhesive takes time to set. Write guest names on paper bags rather than on items that might be sensitive to ink. Keep a small box for stray markers and scissors during cleanup. Tell guests which pieces are safe to pack immediately and which should remain flat. Check manufacturer instructions for drying or storage rather than promising a universal time.
Copyable before-and-after checklist
Before invitations: decide two beginner projects and confirm the eight-person limit. One week before: inventory markers, cardstock and scissors; buy missing supplies against a spending ceiling. Two days before: create ten kits using thirty sheets and prepare table covers. Event day: set up three zones, lighting, water and waste bins. During the event: share tools, allow breaks and keep food off the crafting table. Afterward: count reusable tools, dispose of scraps appropriately and leave a simple way for guests to send a photo of a finished craft if they choose.
Frequently asked questions
Do I need to be good at crafts to host? No; choose easy activities and an optional example rather than acting as a teacher. How many glue sticks are enough? Six shared sticks are a reasonable starting allowance for eight people making paper crafts; change the count for larger or glue-heavy designs. Can children join? This particular guide is for adults; with children, select age-appropriate tools and supervision separately. Is crafting a substitute for a conventional party game? It can be, especially for guests who prefer conversation with a hands-on activity.
What makes this plan different from a generic party list
The kit calculation prevents last-minute shortages, while shared tools reduce unnecessary purchasing. The three-zone layout separates food from materials and gives guests room to work. The short schedule leaves space for conversation instead of forcing a finished product. Customize these rules to the craft, available room, weather and your guests, and use actual local prices instead of treating example allowances as guarantees.
Useful related planning guides
Host a game night for eight · Party budget worksheet · RSVP guest tracker · Start Here.
Safety and editorial notes
For verified cooking, refrigeration and cross-contamination principles, see FoodSafety.gov: Four Steps to Food Safety. This article is a practical planning example rather than a guarantee of suitable capacity, health outcomes, venue rules or local prices.
Illustration disclosure: Header and body diagrams are original illustrative planning graphics, not photographs documenting an actual event. All quoted budgets and serving scenarios are hypothetical; verify local prices, food labels and relevant rules before purchasing or hosting. Published October 11, 2026.

